Best Photos for a Bulin 47 AI Video: A Practical Guide
Choose a clear, authorized starting image with readable clothing, room for movement and the right orientation for an original freestyle video.
Preview: image preparation and Waffo payments are available. Public video generation remains closed during validation; purchasing does not unlock it.
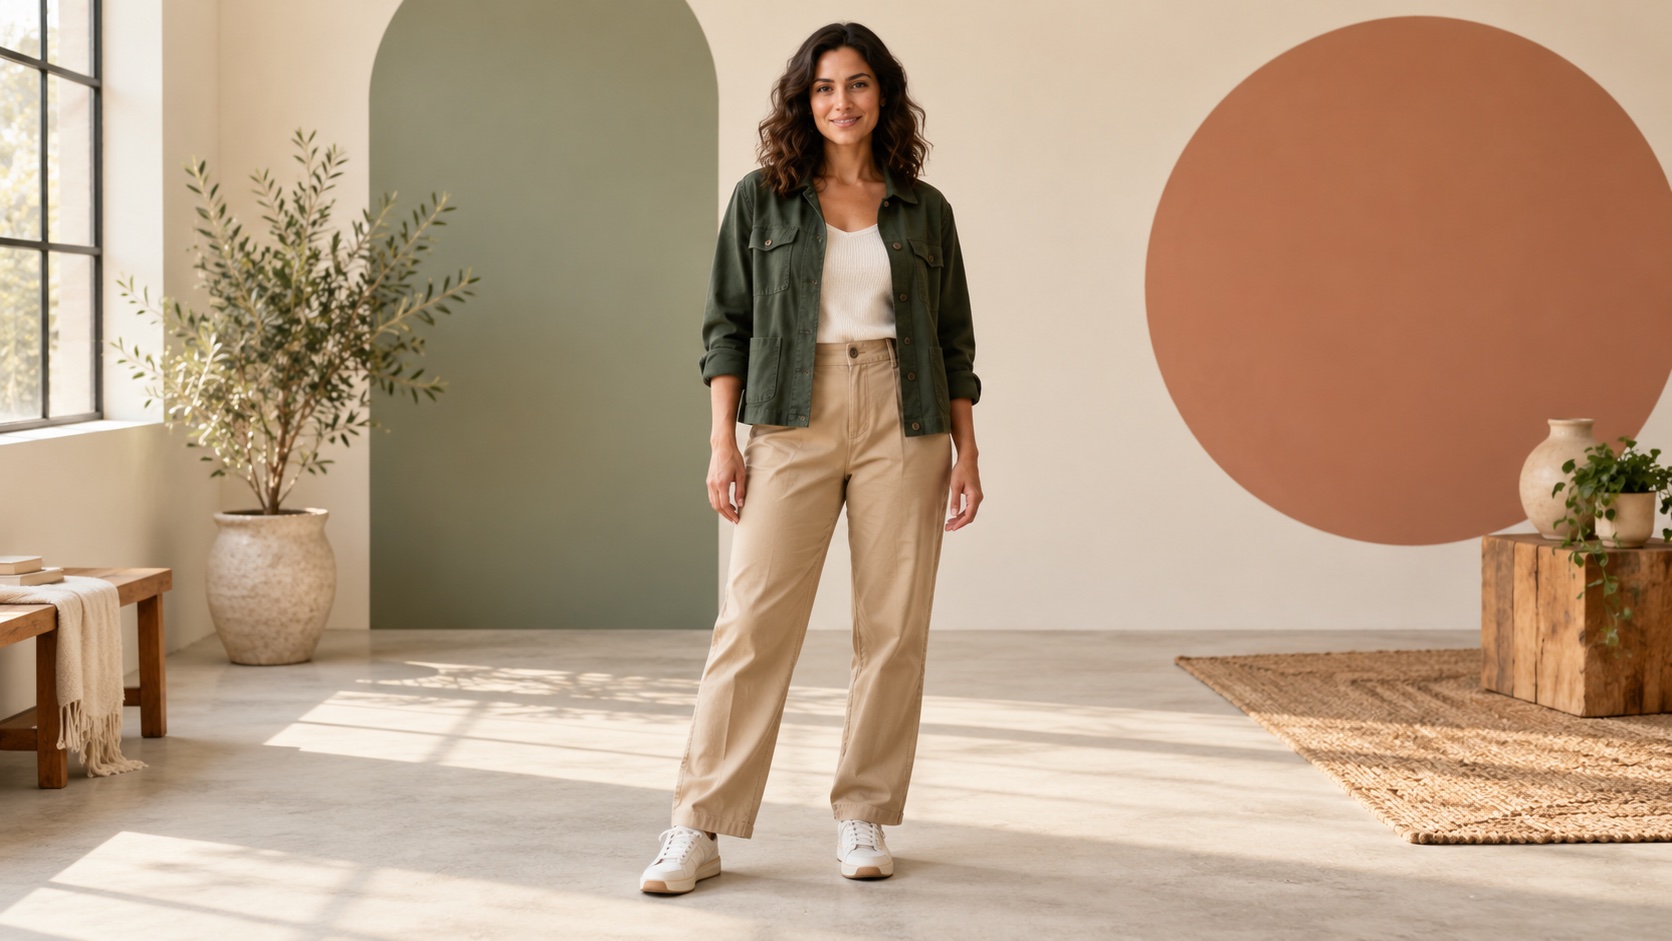
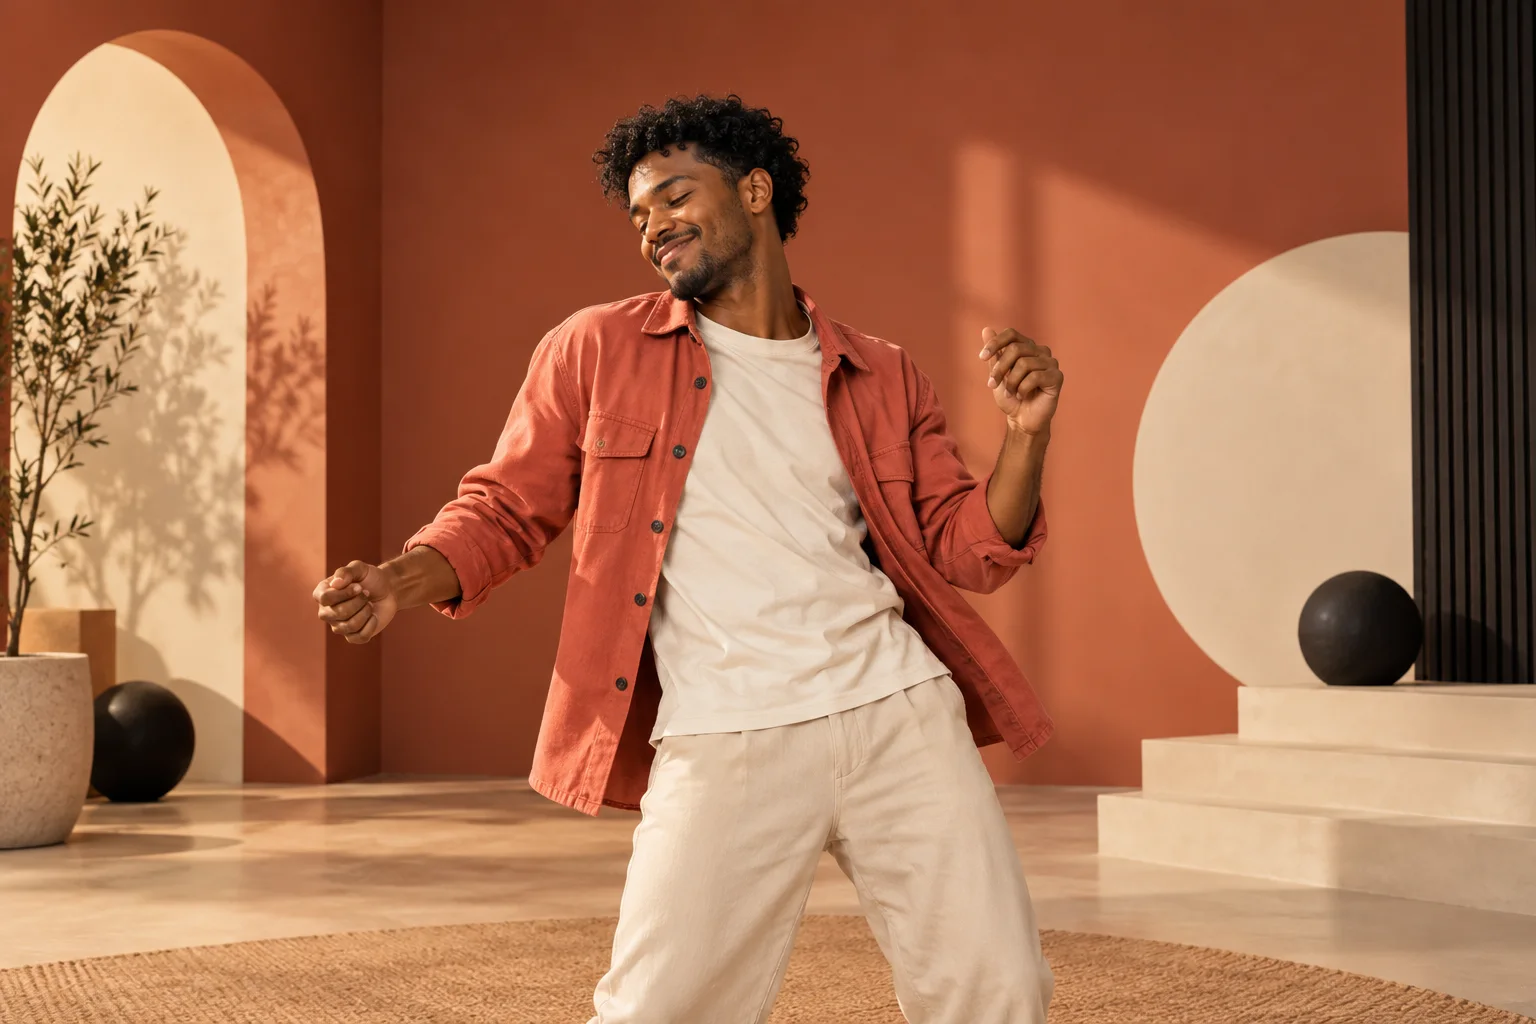
The best photos for a Bulin 47 AI video show one clear subject, a readable face and enough upper-body detail to identify the clothing. Start with appearance information you want to preserve, then check that the composition fits a close performance.
Best photos for a Bulin 47 AI video: clear identity
The best photo makes the intended person easy to recognize. One visible subject, a readable outfit and enough space for movement make your creative intent easier to assess. Bulin 47 Video takes one starting image and handles the original freestyle instructions and settings for you.
The image is the appearance reference for new video generation; it does not guarantee an identical first frame. It is not a face-replacement target, and there is no source-video input. Waffo payments are available, but public rendering remains closed during validation; purchasing does not unlock it and selecting an excellent image does not mean a video has already been generated.
Choose an image you can animate
Use your own photograph or an image you are authorized to animate for the intended use. An original fictional adult character is a useful alternative when you want a distinct outfit or illustrated look. Obtain any required likeness permission for identifiable people. Avoid unauthorized celebrity imitation or protected-character recreation.
Permission and photo quality answer different questions. Sharp photos can still be unauthorized; permitted photos can still be poorly framed. Keep a record of where each photo came from and what use is allowed. Automated content checks do not establish ownership, consent or commercial rights.
Frame the body for movement
The current workflow requests a close venue performance with head turns and compact hand gestures. A clear chest-up or waist-up portrait is a practical starting choice. Leave visible space above the hair and beside the shoulders. Avoid hands, phones or other objects covering the face.
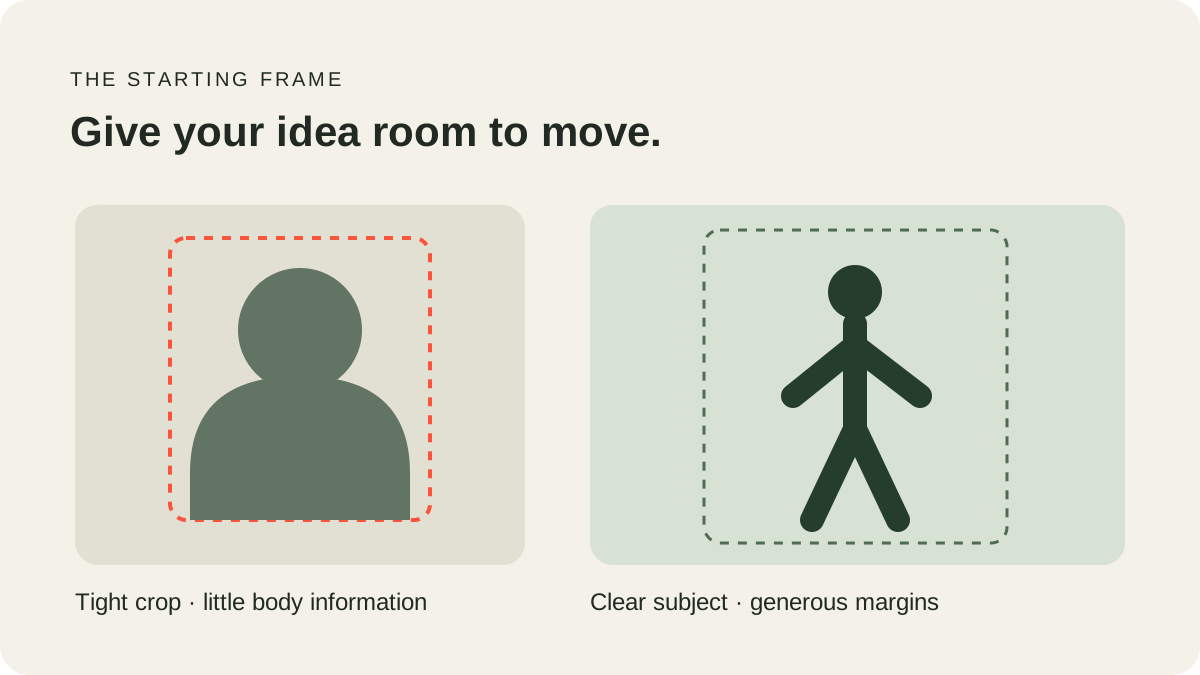
A tight headshot gives the model less visible information about clothing and shoulders. A distant full-body picture can make the face too small. Choose a useful balance: recognizable facial detail and enough upper body to explain the outfit, with no promise that every small accessory will remain unchanged.
Use light and separation deliberately
Choose a clear, normally exposed photo. If the face is deep in shadow, the photo may not show the details you care about. Strong backlighting, heavy beauty filters and very low-resolution screenshots can also remove useful information.
A simple background helps the main subject stand out. Clothing that separates from the background makes the outline easier to see. You do not need an elaborate studio: an uncluttered room or open wall can be a clean starting point. Avoid multiple overlapping people when your idea is a single-person performance.
Compare your photos at a larger size before uploading. Look at the face, hands and clothing edges. Correct obvious exposure or rotation problems in your photo editor, or select a different photograph. Artificially enlarging a thumbnail does not recover missing original detail.
Choose the orientation before uploading
The current workflow aims for a vertical composition. A portrait source gives you a useful way to assess face and shoulder placement, but its ratio is not a promise of identical output dimensions. There is no separate ratio selector in this product.
Leave room for any caption you plan to add later, but do not bake text or interface elements into the source image unless they are intentionally part of the scene. Small lettering may change during generated motion. Our vertical framing guide explains how to plan a useful composition without a settings menu.
Check the file and preview
The uploader accepts JPG, opaque PNG and WebP, with dimensions of at least 256 × 256 pixels. A transparent PNG or a HEIC file needs an appropriate export before use. Keep the original image; conversion should not be your only remaining copy.
Open the image tool, choose the file and inspect the thumbnail. Correct a rotated source before submitting it. If the preview looks unexpectedly cropped, remember that the thumbnail layout does not itself prove the final video framing. Choose a composition that works as a starting frame, with clear margins.
The compact interface keeps preparation fast to understand: one upload and help only when you need it. You do not have to write a prompt, pick a model or find a performance clip. Keep the device draft for a later return, or remove the photo with the × in its top-right corner.
Make a final image check
Before you settle on the image, ask: is the intended subject obvious, is the face readable, are the important clothes visible, is there space to move, and do I have the necessary permission? This short check is more useful than adding more complexity to the setup.
Keep the best photo and its original export together so you can compare the input with your eventual AI video. For a complete preparation path, read the one-photo walkthrough. For upload problems, use the troubleshooting guide.
Preparing a personal celebration? See six birthday freestyle concepts for outfit and caption ideas built around one strong image.
Compare two portraits before choosing your input
Put your candidate photos side by side at roughly the size they will appear in a phone preview. Favor photos in which you can identify the face, hairstyle and outfit without zooming. A technically larger file can be less informative when the person occupies only a small corner of it.
Look for the details that distinguish this person: the shape of the hairline, facial hair, cheek outline and major clothing colors. You do not need to describe those features to the tool; they should be visible in the photograph. If the only sharp details belong to the background, choose a closer, clearer source. Avoid strong filters that smooth away the very facial detail you want the model to follow.
Next, check what crosses the face. A raised phone, hand, large glasses reflection or heavy shadow can hide useful appearance information. A neutral or modestly expressive portrait gives you a simple reference to compare with later turns and expressions. No particular expression guarantees better generation, so do not repeatedly alter a good photograph in search of a supposedly perfect pose.
The current 20-second, 768P workflow uses your photo as the only identity image and adds written motion instructions. No second portrait, pose storyboard or reference video is sent to the model. Review hair, face, clothing and proportions through the full performance before accepting it; one clear input does not eliminate changes during turns or occlusion.
Keep the unedited original and your chosen upload copy with recognizable filenames. That small preparation step helps you compare the correct input against the correct result if you later try a different crop.
Frequently asked questions
Is a selfie enough?
It can provide a starting image if it meets file requirements, but a tight crop leaves the body and clothing less defined. A clear upper-body portrait is a practical choice for the current close performance.
Are two people supported as separate roles?
No. There is one starting-image slot and no separate role assignment. Choose a clear primary subject for this workflow.
Can I use a fictional adult character?
Yes, when you own or are authorized to use the character image. Distinctive details and proportions can still change during motion.
Does the tool accept HEIC?
The current uploader accepts JPG, opaque PNG and WebP. Export HEIC into an accepted format first.
Can I change the aspect ratio in the tool?
No. The workflow requests vertical framing. Prepare a clear composition before uploading and verify the actual final dimensions.
Will a better photograph guarantee a better video?
No. It makes your starting material clearer, but exact likeness and motion are not guaranteed. Review the complete generated result when rendering becomes available.